How to Use Inkjet Label Sheets for Perfect Labeling at Home?
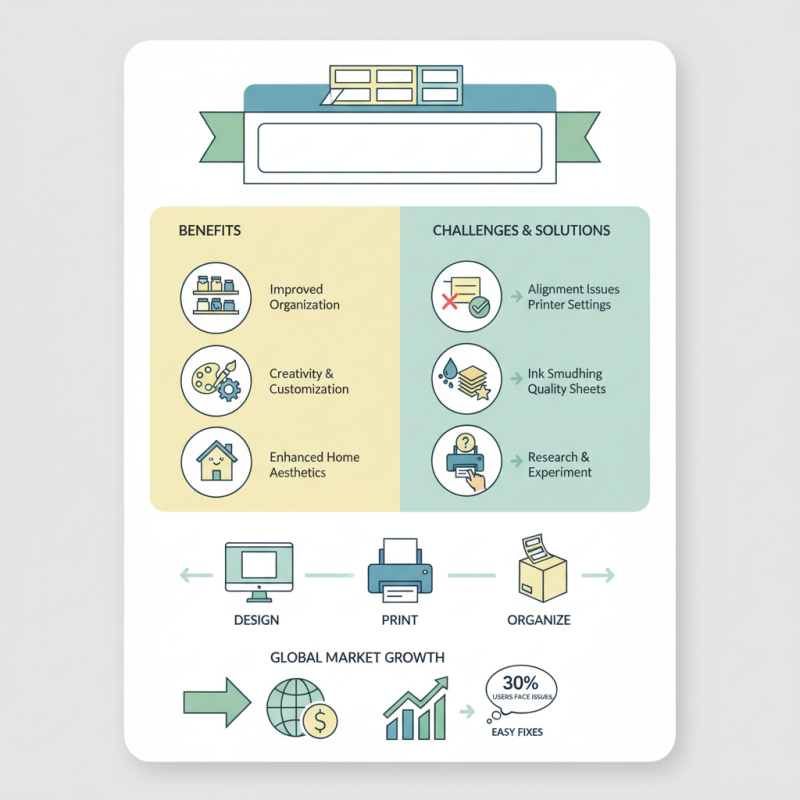
In today's fast-paced world, organization is key. Inkjet Label Sheets can transform your labeling process at home. According to a study by the Label and Packaging Industry, the global labeling market is projected to reach over $50 billion by 2025. This signifies a growing demand for effective labeling solutions. Proper labels improve product organization and enhance aesthetics.
Utilizing Inkjet Label Sheets offers both creativity and functionality. They allow for easy customization, ensuring that labels fit various needs. However, many users struggle with alignment issues or ink smudging. A recent survey revealed that almost 30% of consumers face problems when printing labels at home. These challenges highlight the importance of understanding printing techniques and the characteristics of different label sheets.
To achieve perfect labeling, one must also consider compatibility with printers. Not all brands provide the same quality or ease of use. Empirical evidence suggests that investing in high-quality Inkjet Label Sheets is crucial for optimum results. Users should experiment with different settings to find the best outcome. Overcoming initial hurdles can lead to a rewarding labeling experience. Balancing form and function will elevate your home organization.
Choosing the Right Inkjet Label Sheets for Your Project
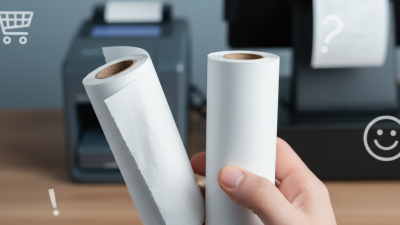
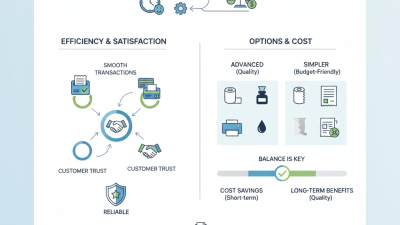
When selecting inkjet label sheets, consider the project requirements. Different projects may need various sheet sizes, materials, and adhesive types. For instance, glossy labels work well for product packaging. Matte labels might be better for organizational purposes. Ensure the label material is compatible with your inkjet printer for optimal results.
Tips for choosing the right inkjet labels include checking the printer specifications. This helps in avoiding paper jams or poor-quality prints. Some sheets may not align well with standard printers. It's worth testing a few sheets before committing to a larger batch. Remember that not all labels stick evenly. Poor adhesion can lead to peeling and unsightly labels.
Think about environmental conditions too. Some labels may fade or smear in high humidity. Others may not withstand temperature changes. Consider where the labels will be used. Keeping these factors in mind allows for better labeling outcomes. Reflect on your past labeling experiences to identify what worked and what didn’t. Adjust your choices accordingly for future projects.
Designing Labels Using Software for Inkjet Printing
Designing labels with software for inkjet printing can elevate your home organization projects. Using the right software tools enables anyone to create professional-looking labels that enhance both functionality and aesthetics. According to recent data from the Label Industry Global Statistics, the labels market is projected to reach $50 billion by 2025. This indicates a growing interest in quality label production.
Start by choosing software that offers user-friendly features. Programs like graphic design software or dedicated label-making applications allow customization. You can adjust fonts, colors, and images to fit your needs. Be sure to select a high-quality image; a clear design is crucial for effective labeling. Research shows that labels with vivid, clear designs enhance product recognition by over 30%.
Despite advancements, some challenges persist. Quality can vary significantly based on the paper and printer used. Inconsistent ink absorption may lead to smudging or bleeding. Testing different settings can improve results. Consider printing a few labels before large runs. This trial-and-error method helps in pinpointing the perfect label design. Remember, imperfections often offer valuable insights for future projects.
Setting Up Your Inkjet Printer for Optimal Label Printing
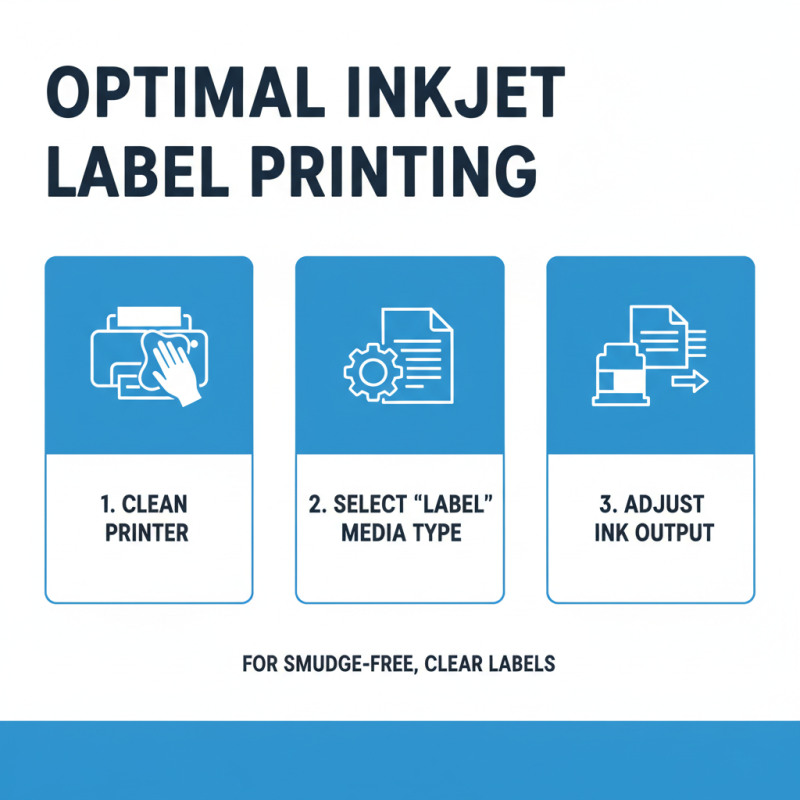
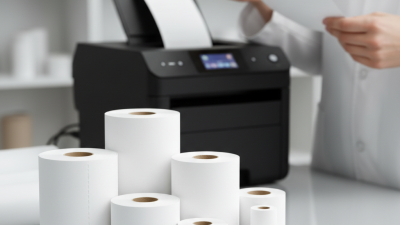
Setting up your inkjet printer for optimal label printing can make a significant difference in the final look of your labels. Start by ensuring that your printer is clean. Dust and ink residue can affect print quality. Check the printer settings to select the correct media type. This helps the printer adjust the ink output for the specific label sheets you’re using.
Tips: Always test print on a plain paper first. This lets you see how the design aligns. Adjust the margin settings if necessary. Remember, labels can have a slight variation in size. It’s essential to account for this when designing your labels.
Monitor ink levels regularly. Low ink can lead to faded prints. If you notice streaks, it may indicate that the printhead needs cleaning. Don’t skip this step; a dirty printhead can ruin your labeling project. Additionally, ensure that the labels are fed correctly into the printer. Misaligned labels can lead to wasted sheets and frustration.
Tips: Store label sheets in a cool, dry place. This helps maintain their quality over time. Avoid using damaged sheets, as they can cause jamming. Experiment with different settings to find what works best for your specific labels. Finding the right settings may take some trial and error, so be patient.
Printing and Applying Labels: Steps for a Flawless Finish
Creating labels at home can be a rewarding task. Properly printing and applying these labels takes practice. You want them to look professional, yet many face challenges in achieving that perfect finish.
Start with high-quality inkjet label sheets. Make sure your printer settings match the paper type. Adjust the resolution for clarity; low-quality images can ruin your labels. Remember to run test prints on regular paper first. It helps identify issues like alignment and sizing. Sometimes, it takes several attempts to get it right.
When it comes time to apply the labels, take your time. Ensure the surface is clean and dry. Avoid bubbles by applying from one edge to the other. If you do encounter bubbles, gently lift the label and reposition it. This can be tricky but often leads to better results.
Tip: Use a credit card to smooth the label down. This method can help in pushing out air bubbles effectively. Be prepared, though; not every label will land perfectly. Learning from these small mistakes is part of the process.
Maintaining and Storing Inkjet Labels for Future Use
Maintaining and storing inkjet labels can be a game changer for efficient home organization. Proper handling will keep your labels in excellent condition. Start by placing your unused label sheets in a dry, cool area. Dark places are ideal since light and humidity can degrade the adhesive properties. This simple step can prevent future labeling mishaps.
One important tip: use a sturdy storage folder or box. Avoid bending or folding the sheets. Any creases can compromise the quality of your printed labels. Regularly check your stock to ensure that older sheets are used first. This could prevent a frustrating situation when you need labels, only to find that the older ones have dried out.
It’s easy to overlook proper storage techniques. Mistakes like ignoring the environment can cause damage over time. Keep your labels stored flat and safe from dust. If you notice any discoloration or stickiness loss, it’s time to reconsider their storage. Regular assessment helps maintain their usability for the future.
How to Use Inkjet Label Sheets for Perfect Labeling at Home? - Maintaining and Storing Inkjet Labels for Future Use
| Label Type |
Usage |
Storage Tips |
Lifespan |
| Matte Finish |
Ideal for printing text-heavy labels |
Store in a cool, dry place away from direct sunlight |
Up to 2 years when stored properly |
| Glossy Finish |
Perfect for packaging and product labels |
Keep in sealed packaging to prevent moisture absorption |
Up to 1 year |
| Clear Labels |
Great for creating seamless designs on jars and bottles |
Store upright in a dry environment |
Up to 1.5 years |
| Shipping Labels |
Designed for mailing and shipping purposes |
Keep in original packaging until use |
Up to 3 years |


 Phone
Phone Send Email